When to Start Planting Flowers for Spring: A Complete Gardener’s Guide
Knowing when to start planting flowers for spring is the key to a vibrant, colorful garden that thrives all season long. Plant too early and frost can kill young plants; wait too long and you may miss peak bloom time. The right timing depends on your climate, flower type, and local frost dates.
In this guide, you’ll learn exactly when to plant spring flowers, how to plan around frost, and tips to ensure healthy growth from day one.

Why Timing Matters When Planting Spring Flowers
Spring flowers are sensitive to temperature and soil conditions. Planting at the wrong time can lead to:
- Stunted growth
- Frost damage
- Poor blooming
- Root rot from cold, wet soil
By planting at the proper time, flowers establish strong roots, resist disease, and bloom at their fullest.
Understanding Frost Dates and Hardiness Zones
Know Your Last Frost Date
The average last frost date is the most important factor when deciding when to plant. This date marks when overnight temperatures are unlikely to drop below freezing.
- Cool-season flowers can be planted before the last frost
- Warm-season flowers should be planted after the last frost
Use USDA Plant Hardiness Zones
Hardiness zones are based on average minimum winter temperatures and help determine which plants will thrive in your region.
- Northern zones (3–5): Later planting dates
- Central zones (6–7): Mid‑spring planting
- Southern zones (8–10): Earlier spring or even late winter planting

When to Plant Different Types of Spring Flowers
🌷 Spring‑Blooming Bulbs (Plant in Fall)
These flowers bloom in early spring but must be planted months earlier.
Examples:
- Tulips
- Daffodils
- Crocuses
- Hyacinths
Best planting time: Fall, 6–8 weeks before the ground freezes
🌼 Cool‑Season Flowers (Early Spring)
These flowers tolerate cold temperatures and light frost.
Examples:
- Pansies
- Snapdragons
- Sweet peas
- Violas
- Calendula
Best planting time:
- 4–6 weeks before the last frost
- When soil can be worked and daytime temps reach 50°F (10°C)
🌺 Warm‑Season Flowers (After Frost)
These flowers thrive in warmth and will not survive frost.
Examples:
- Petunias
- Zinnias
- Marigolds
- Cosmos
- Sunflowers
Best planting time:
- 1–2 weeks after the last frost
- When soil temperatures reach 60°F (15°C) or higher

Starting Flowers Indoors for an Early Advantage
Starting seeds indoors allows flowers to bloom earlier and grow stronger before transplanting.
Flowers Commonly Started Indoors
- Petunias
- Begonias
- Lobelia
- Geraniums
When to start:
- 6–10 weeks before the last frost date
Tips for success:
- Use seed‑starting mix
- Provide bright light (grow lights work best)
- Harden off seedlings before planting outdoors
Regional Spring Planting Guide
Northern Climates
- Start seeds indoors: February–March
- Transplant outdoors: Late April–May
Moderate Climates
- Direct sow cool flowers: March
- Warm flowers: April
Southern Climates
- Cool flowers: Late winter
- Warm flowers: Early spring
Soil Preparation: Don’t Skip This Step
Healthy soil ensures healthy flowers.
Before planting:
- Remove weeds and debris
- Loosen soil 8–12 inches deep
- Add compost or organic matter
- Ensure good drainage
Soil temperature is just as important as air temperature—cold soil slows root growth.
Common Spring Flower Planting Mistakes to Avoid
- ❌ Planting before the soil warms
- ❌ Ignoring frost forecasts
- ❌ Overwatering young plants
- ❌ Skipping hardening‑off
- ❌ Planting sun‑loving flowers in shade
Avoiding these mistakes can dramatically improve bloom quality.
Frequently Asked Questions
Can I plant flowers as soon as spring starts?
Not always. Early spring weather can still bring frost. Always check your last frost date.
What flowers can handle frost?
Pansies, violas, snapdragons, and sweet peas tolerate light frost.
Should I use mulch in spring?
Yes. Mulch helps regulate soil temperature and retain moisture.
Final Thoughts: When Should You Start Planting Flowers for Spring?
The best time to plant spring flowers depends on flower type, frost dates, and local climate. Cool‑season flowers can go in early, while warm‑season varieties must wait until frost danger passes. With proper planning, soil preparation, and timing, your spring garden will reward you with months of color and growth.


 The
The 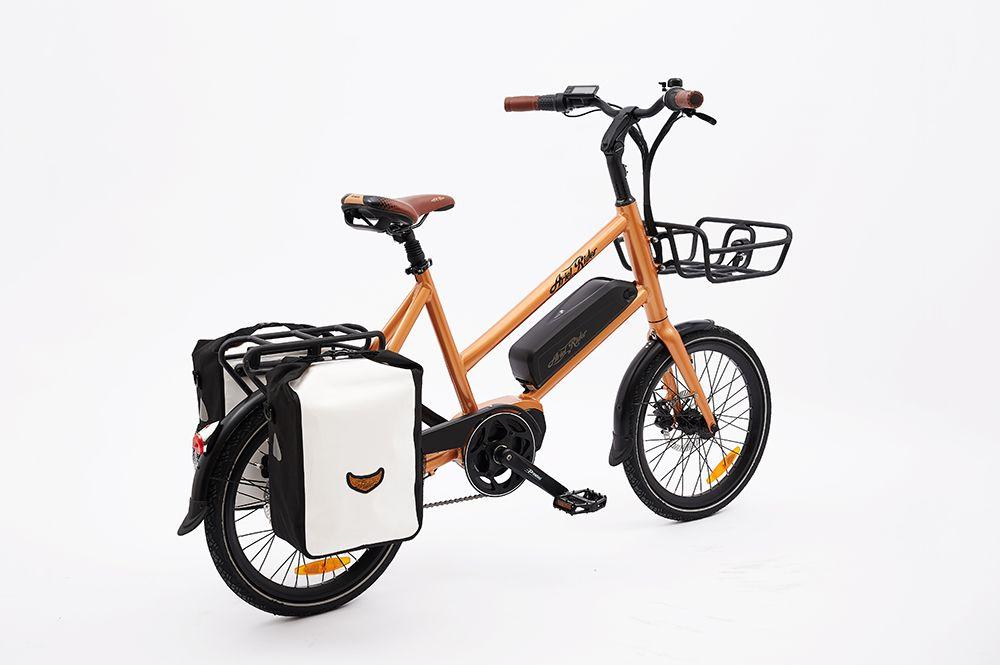
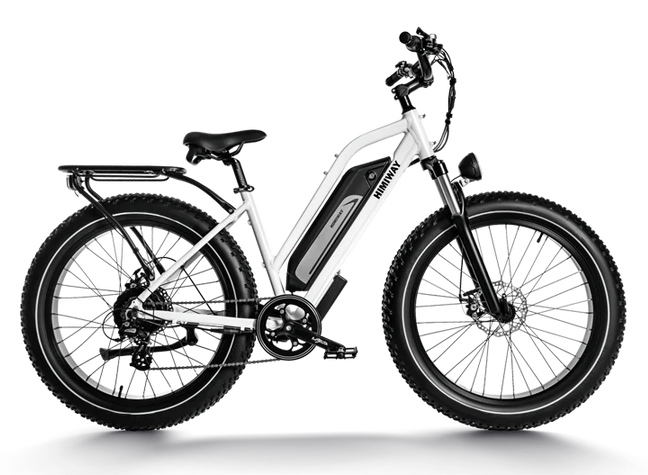
 This 750 watt 48v
  The
The  The
The  The
The  With a capacity of 400lbs, the
  With a weight capacity of “only” 350lbs, the Addmotor MOTAN 1000 Watt Electric Bicycle barely makes the list. The
  Also on the expensive side and only having a 350lb capacity, the
  The
The 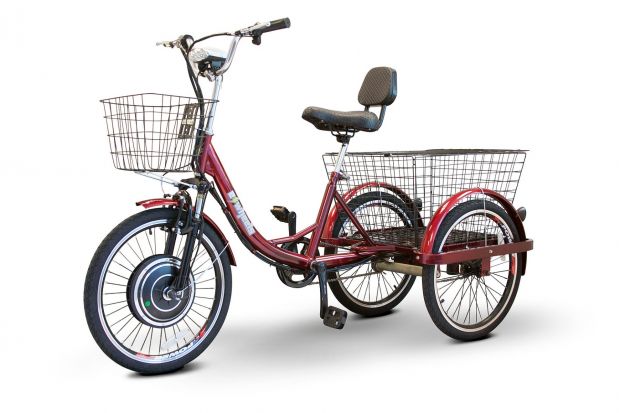 The EW-29 Electric Trike is another Trike option for a heavier rider and it’s on the lower end of the spectrum. With a speed of up to 15 mph, it can go 20 miles on a single charge.